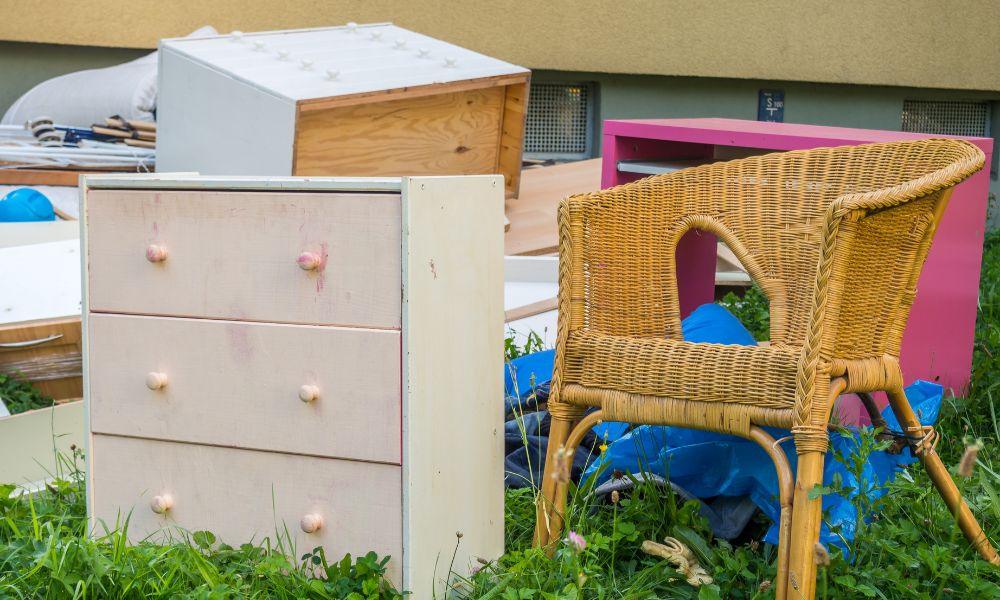
There comes a day in every Japan expat’s life where you stare at a broken toaster oven, a worn-out rug, or that cheap folding chair you bought your first week here, and a deep sense of dread washes over you. You realize: I have absolutely no idea how to get rid of this.
You’ve already mastered the intricate dance of the color-coded burnable and non-burnable bags. You know exactly which day the PET bottles go out. But oversized trash is a whole different beast. You definitely can’t just drag an old mattress to the curb under the cover of darkness. Japan does not play around with illegal dumping, and your neighbors will notice.
Instead, you have to navigate the sodai gomi (粗大ごみ) system.
Yes, dealing with oversized garbage involves a little bit of bureaucracy, and yes, it feels incredibly intimidating the first time you do it. But I promise it’s actually a really smooth, highly organized, and affordable process once you know the exact steps. Plus, many cities are finally bringing their systems into the 21st century with online payments!
Grab a coffee, take a deep breath, and let’s walk through exactly how to get rid of your big trash in Japan without losing your mind.
What Actually Counts as Sodai Gomi?
Transparency Note: This post may contain affiliate links. If you book or buy through them, I may earn a small commission at no extra cost to you. Thank you for supporting the blog!
Before you start panicking about whether your trash is “normal” or “oversized,” there is a golden rule across most of Japan: The 30-Centimeter Rule.
If your item is larger than 30cm (about 12 inches) on any side—length, width, or height—it has officially graduated to oversized trash. If you have a frying pan with a handle that makes it 32cm long? Sodai gomi. A small bathroom trash can that is 35cm tall? Sodai gomi.
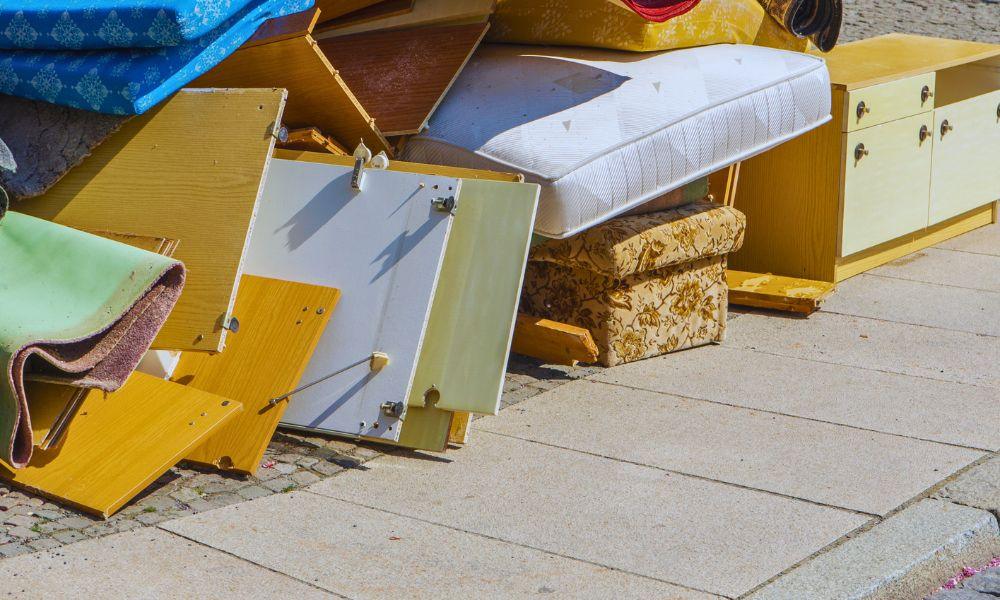
This category usually includes things like:
- Bookshelves, tables, and chairs
- Futons, rugs, and mattresses
- Suitcases (because we’ve all broken a wheel on the cobblestones)
- Microwave oven counters and kitchen racks
Please note that major home appliances like TVs, refrigerators, air conditioners, and washing machines fall under a strict national recycling law. They require a completely separate recycling process and specialized pickup. Do not try to put these out as sodai gomi!
The Sodai Gomi Process: Step-by-Step
Step 1: Measure Everything
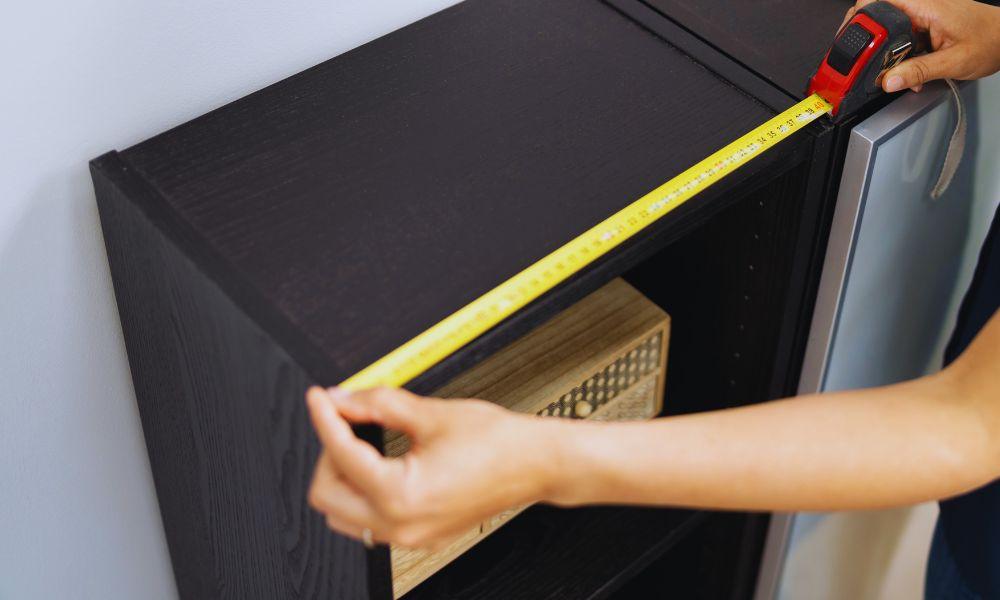
Do not try to eyeball this. The city calculates your disposal fee based on the specific category and the exact dimensions of your item. If you guess, and your item is larger than what you reported, the garbage collectors will leave a passive-aggressive sticker on it and leave it sitting on your curb.
Grab a tape measure and jot down the height, width, and depth of every single piece you are throwing out.
If you’re scrambling because you don’t actually own a tape measure yet, this very cute tape measure is the exact one I keep in my drawer. I love the positive feminine energy it gives me when I’m doing mundane things…like preparing my sodai gomi! Also, if you’re doing a solo apartment cleanout and need to drag heavy furniture to the door, do your back a huge favor and grab some furniture sliders. Trust me on this one.
Step 2: Book Your Pickup (Don’t Miss the Deadlines!)
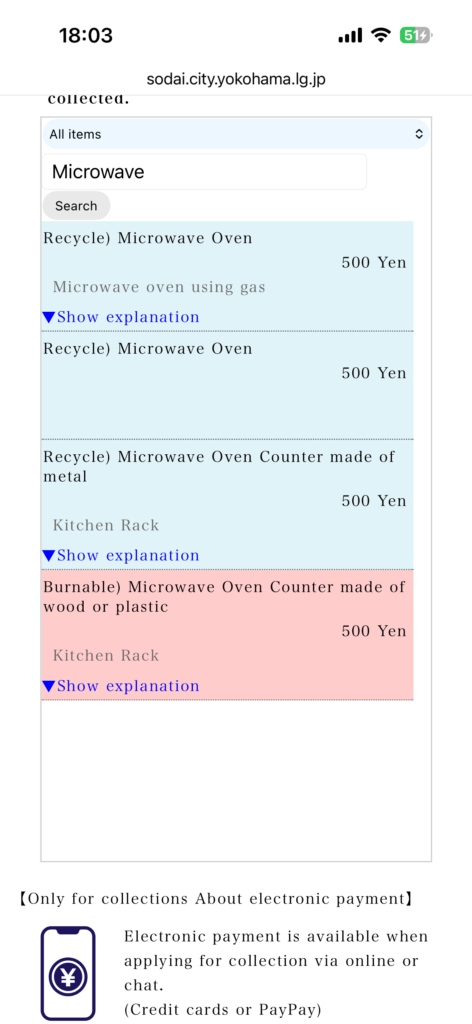
Once you’ve confirmed that your trash is indeed sodai gomim, you can’t just put it outside. You must schedule your pickup in advance with your local municipality’s Oversized Garbage Reception Center.
Here is how to do the booking process like a pro:
First, you should choose your method of booking. You no longer have to call and struggle through a phone conversation in Japanese. Most cities, including Yokohama, now accept applications through their internet portal, via automated chat, or even through the LINE app.
Personally, I prefer to use the website. There, you will use a drop-down menu to search for your item in their database to see the fee (for example, a metal kitchen rack for a microwave might be quoted at 500 Yen). The names are honestly quite confusing sometimes, but I just go with whatever is the closest description that I could find for my item.
You should also know that you can’t clear out an entire house in one go. Keep in mind that for a standard collection, you are usually limited to a maximum number of items per application. In Yokohama, for instance, you can put out up to 9 items at a time.
Another important thing is that you should not leave scheduling sodai gomi pickup to the last minute. You often need to apply for a new collection by 7 business days prior to your desired collection date. And every week or two, there is only one day designated for sodai gomi pickup. If you make a mistake and need to change or cancel, you must do so by 3 business days prior. And remember, “business days” exclude Sundays and New Year’s holidays (Dec 31 – Jan 3).
When you apply online, the city will send you an automated confirmation e-mail with your booking details. For some reason, Japanese municipal e-mails almost always get flagged as junk. If you don’t receive your confirmation right away, check your spam filter!
Now, what if you have a weird, custom piece of furniture that isn’t on the online list? In that case, you must apply via phone to the Oversized Garbage Reception Center. The center is typically open Monday through Saturday, from 8:30 a.m. to 5:00 p.m.
Step 3: Paying the Fee
Once your pickup is booked, it’s time to pay. You don’t hand cash to the drivers.
If your city is up to date (like Yokohama), electronic payment is now available when applying online or via chat! You can easily pay your exact disposal fee right then and there using a credit card or PayPay. This is an absolute game-changer.
But if your ward hasn’t updated to electronic payments yet, you have to pay the old-fashioned way: by buying physical disposal stickers officially called Sodai Gomi Ken (粗大ごみ処理券). Simply walk to the register of your neighborhood 7-Eleven, Lawson, or FamilyMart and ask the cashier for “Sodai Gomi Ken.” They are usually sold as A-tickets (e.g., 200 yen) and B-tickets (e.g., 300 yen). You just do some quick math and buy the exact combination needed to match your quoted fee.
Step 4: Label and Haul
You are at the finish line!
If you used the physical konbini stickers, take a permanent marker and clearly write your name or initials (must be the exact same name or initials you indicated when booking your pickup) or your reservation receipt number on them.
Peel off the backing of your stickers (or grab your taped paper) and stick it onto your furniture where the collectors can clearly see it without having to flip the item over.
If you paid electronically via credit card or PayPay, your city will provide instructions on how to label the item. Usually, they ask you to take an A4 piece of paper, write your specific confirmation code on it in large letters, and securely tape it to the furniture.
Finally, carry the item down to your building’s designated trash area or the curb spot you agreed upon. Make sure you do this on the morning of your scheduled pickup (usually before 8:00 AM). Do not put it out the night before! Not only is it considered bad manners, but you risk the wind blowing your sticker off or neighbors complaining.
You Survived! Now Go Thrive
Honestly? Figuring out administrative, adulting tasks like this in a foreign language is a massive win. You should be proud of yourself.
Once you’ve successfully cleared the clutter out of your apartment, you deserve to get out of the house and celebrate. Why not trade your newly spotless apartment for some of the best views in the country?
If you’re heading out to explore, do yourself a huge favor and grab the Klook Pass Yokohama directly on your phone before you go. Instead of paying full price at every single ticket window, this multi-attraction pass lets you bundle 2 to 6 of the city’s best spots into one discounted digital ticket. You get to mix and match from top favorites like the Yokohama Landmark Tower Sky Garden (one of Yokohama’s best viewpoints), Hakkeijima Sea Paradise, the Sea Bass water bus, or even a relaxing soak at a local hot spring. The best part? It’s valid for 30 days, so you can explore completely at your own pace without any of the planning stress!

Want to turn a regular weekend into an unforgettable one? Grab my Ultimate Yokohama Skyline Guide & Itineraries PDF for just $3! It’s a 13-page guide where I take you to Yokohama’s 5 best skyline views. It includes 3 fully curated itineraries and custom, clickable Google Maps so you can navigate the city like a local. Grab it here and go enjoy the views!